
Link us to: http://sn.im/26mzow

This week, I will teach you few easy steps on how to create a Typography wallpaper using Adobe Photoshop. After you have followed the steps shown in the tutorial that I have provided, you might feel that it is simpler than what you expected.
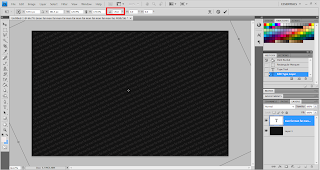
Step 1
At first, you will need to create a background colour for the Typography you are going to create. I have set my background colour as black colour. Next you need to click on the Horizontal Type Tool and left click the left hand conner to right hand conner.
At first, you will need to create a background colour for the Typography you are going to create. I have set my background colour as black colour. Next you need to click on the Horizontal Type Tool and left click the left hand conner to right hand conner.

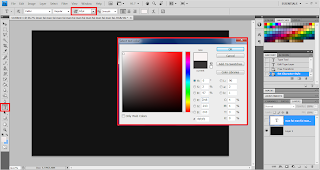
Step 2
You will then need to click on the set the text color to set the text colour. I have set my text colour to grey as the text description. Besides that, I also set the font size to 14pt so it looks comfortable not too big or too small.

I start to enter the text words that I want to. I just repeated the text by using copy and paste method until it fills the entire canvas.

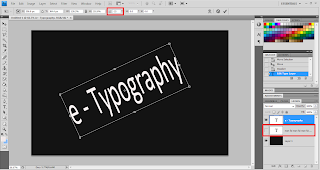
Steps 4
Now, I go to Edit > Free Transform > Rotate. I set rotation to -25 degree angle. I need to stretch the box out using the text tool until it expands beyond the canvas size.
Step 5
Now I need to set the text Indicates layer visibility to hide. Next, I need to change set the text color to white and font size to 92.
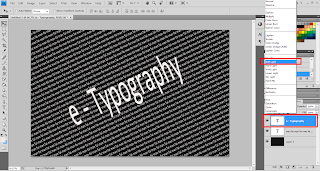
Step 6
I can enter any world for my text. In this situation, I have entered e – Typography as my text. Next, I just repeated the same steps above (step 4), go to Edit > Free Transform > Rotate and rotate the text to -25 degree angle.
I can enter any world for my text. In this situation, I have entered e – Typography as my text. Next, I just repeated the same steps above (step 4), go to Edit > Free Transform > Rotate and rotate the text to -25 degree angle.
Step 7
In this step, I need to unhide the text that I have hided previously (step 5). Now go to the set the blending mode for the layer to set the e-Typography text as soft layer. Next, I need to click on the e-Typography text and right click choose the Duplicate Layer. Notice, I can drag and adjust the text to the suitable font and place I want to.
In this step, I need to unhide the text that I have hided previously (step 5). Now go to the set the blending mode for the layer to set the e-Typography text as soft layer. Next, I need to click on the e-Typography text and right click choose the Duplicate Layer. Notice, I can drag and adjust the text to the suitable font and place I want to.
(Before)
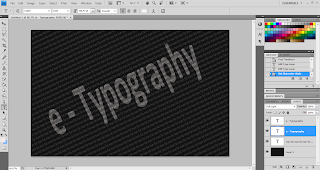
(After)
Step 8
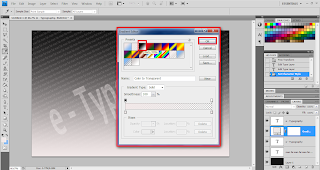
To make my Typography wallpaper to be more effective, I go to Layer> New Fill Layer> Gradient. Under the Gradient Editor choose black and white.
To make my Typography wallpaper to be more effective, I go to Layer> New Fill Layer> Gradient. Under the Gradient Editor choose black and white.
Step 9
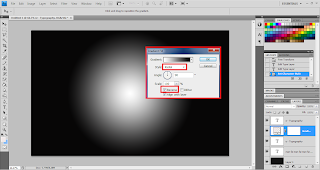
After clicking ok button, it will prompt out a box called Gradient Fill. Set the Style to Radial and Scale to Reverse.
Step 10
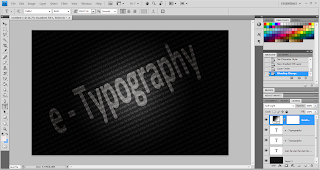
Click on the Layer mask thumbnail, go to set the blending mode for the layer and choose soft layer. Finally, a beautiful design has been designed by me.
Do you think this tutorial helps you a lot while creating Typography wallpaper? Please share your views with us by posting your comments.
Reference:
Internet Reference:
Abduzeedo, Reader Tutorial: Typography Wallpaper in Photoshop, [Online], Retrieved 28th FEB 2011.
